
Introduction: a quick scene, a hard number, a question
I was in a small lab in Guadalajara watching grad students juggle cables and notes like a tight show—muy divertido but stressful. In neuro research we often find that a single failed connector can cost hours of clean data, and studies show up to 30% of bench time is lost to setup and troubleshooting. So how do we fix that without blowing the budget, amigos?
I’ll be honest: I care about this. I’ve tripped over a power supply at 2 a.m., and I’ve cheered when a session runs clean. Here we’ll walk through real moves I use and recommend. Expect plain talk, a few technical terms (electrophysiology, microelectrode arrays), and practical trade-offs. — funny how that works, right?
Let’s get into why our usual fixes fall short and what to change next.
Part 2 — The deeper problem: why traditional options fail
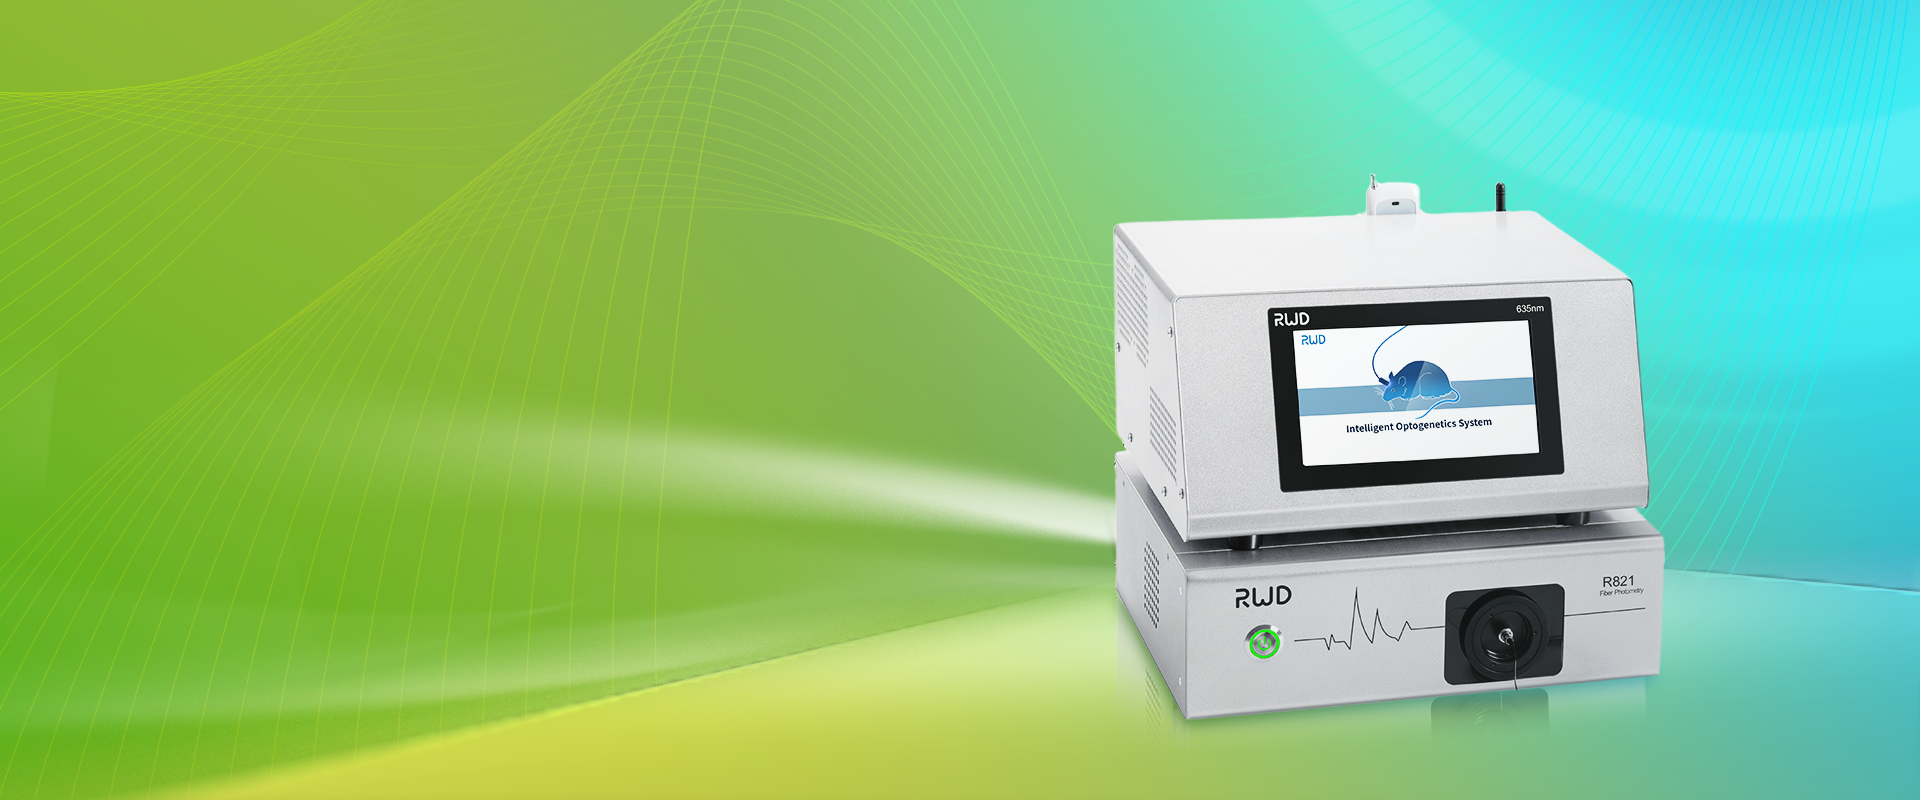
neuroscience research equipment vendors sell shiny boxes and glossy specs. But I’ve learned the hard way that specs don’t save experiments. In many labs the real issues are hidden: mismatched impedance on electrodes, jitter in stimulus timing, and lousy signal-to-noise ratio from bad grounding. These aren’t sexy. They are the small pains that kill data. Look, it’s simpler than you think — you fix the small stuff and the big stuff follows.
Technically speaking, older rigs often rely on ad hoc wiring and legacy DAQ modules that were never meant for modern, high-channel-count recordings. That raises two big problems: scaling and reproducibility. Scaling hits when you add more channels and the system can’t keep up with data acquisition or stimulus synchronization. Reproducibility fails when setups vary between users or days. I’ve seen setups where optical fibers were taped in place (no kidding), which shifts alignment between runs. We need better connectors, clear grounding plans, and standardized calibration steps. These fixes reduce jitter, protect against power surges, and improve the electrophysiology readouts we all depend on.
What’s the single worst flaw?
It’s inconsistency. Small, repeated variations add up. If your microelectrode arrays aren’t seated the same way every time, your signal changes. If your power converters hum, you get noise. Fix consistency and you raise the floor for everything else.
Part 3 — Looking forward: new principles and how to pick gear
Now let’s talk future outlook and what to look for when you replace gear. New designs emphasize modularity, better shielding, and integrated timing (so stimulus synchronization is native, not bolted on). When I evaluate a system I watch for neat things: modular headstages, robust connectors, and a clear path for adding channels without a forklift. These design principles matter because they let you scale without rewriting your protocols. Also, modern systems often include edge computing nodes to do preprocessing on-site, which cuts storage needs and speeds analysis. — I like that. It saves time and sanity.
Case example: a lab I work with swapped out a legacy DAQ for a modular system and added fiber-optic grounding. Overnight their signal-to-noise ratio improved and run failures dropped. The trick wasn’t the price. It was selecting the right combination: good microelectrode arrays, clean power converters, and software that forces consistent calibration. If you’re shopping, try to test a system with your exact probes and your stimulus scripts. If it stumbles in the demo, it will stumble in your hands.
How to evaluate options (practical metrics)
Here are three metrics I always use when choosing neuroscience research equipment:
1) Stability under load — does performance hold when you add channels? Test with stress recordings. 2) Timing fidelity — verify stimulus synchronization to the millisecond. 3) Maintenance needs — how easy is replacement of cables, headstages, or power modules? These reveal hidden costs fast.

Weigh those and you’ll avoid buying shiny boxes that fail at the bench. I recommend doing hands-on tests with your team. Bring your probes. Bring real scripts. Don’t let glossy specs sell you a problem.
Closing thoughts
I’ll leave you with a short checklist I use before signing off on any gear buy: confirm consistent grounding, verify timing accuracy, and run a stress test with your own workflow. Small steps. Big return. If you want a practical source for components and systems that meet these needs, check manufacturers and verified suppliers first — and, yes, BPLabLine is one place I point colleagues to for parts that actually work. We’re all learning. I know I still tweak setups at 3 a.m.—but with these moves you’ll sleep better, and so will your data.