
Framework overview
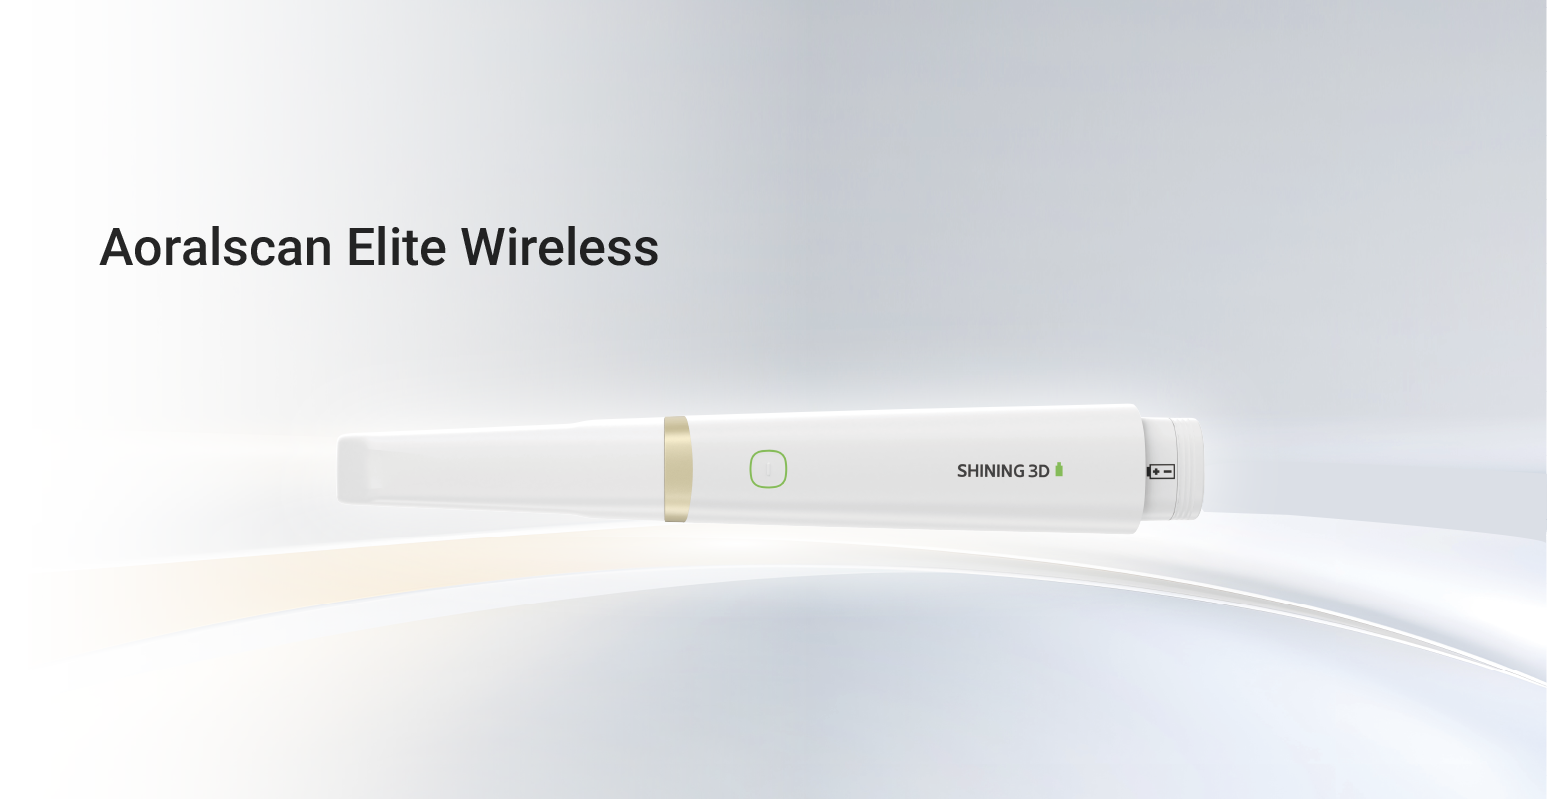
This framework sets clear modules for chairside 3D printing: case planning, digital capture, design and print strategy, materials and post-processing, and staff competency. Each module is a block you can test and refine. Start with a reliable capture method—sufficient detail for denture borders and occlusion—then move to fit and function checks. A Photogrammetry 3D scanner can be part of the capture toolbox when you need rapid surface data that integrates easily with CAD steps.
Module 1 — Case planning and digital capture
Define the restorative goal before any scan. Capture protocols must record functional borders and vertical dimension. Use occlusal stops or a simple jig when you transfer bite records. Common mistakes: scanning without stabilizing soft tissues, omitting a mucostatic versus mucocompressive note, and trusting a single quick capture for a mobile ridge. Resolve these by documenting the intended recording condition and adding a verification scan when necessary.
Module 2 — Design and print strategy
Translate records to digital design with fixed checkpoints: baseline occlusion, esthetic midline, vertical height, and flange extent. For printing, choose orientation that reduces support contact on critical surfaces. Set layer thickness to balance surface detail and print time. Avoid using overly thin layers without adjusting exposure; it increases print failures and dimensional shifts. Keep design iterations minimal: one diagnostic try-in, one adjusted print, then final processing.
Module 3 — Materials and post-processing
Select materials based on intended function. Temporary chairside prostheses tolerate faster resins with higher polymerization shrinkage; final prostheses demand certified biocompatible resins and validated mechanical properties. Post-processing must include standardized cleaning, full polymerization under specified time and intensity, and finished surface verification. Pitfalls include incomplete wash cycles, contaminated solvent, and inconsistent curing chamber placement—each produces variability you then try to mask at the patient chair.
Module 4 — Chairside integration and team training
Divide roles clearly: operator for capture, technician for CAD, clinician for fit and adjustments. Training is modular: hands-on scanning exercises, guided CAD sessions, and a station for finishing and curing. Use checklists for calibration steps and daily maintenance. Practice short simulated cases until each staff member completes the workflow end-to-end without supervisor corrections. Mistake to avoid: teaching every skill verbally without supervised repetition; errors persist until practice is repeated under observation.
Clinical anchor: edentulous patient workflow
Practical experience treating fully edentulous patients in Tel Aviv public clinics highlighted one reality: soft-tissue behavior determines success more than perfect print resolution. For edentulous cases, capture the neutral tissue posture and record border dynamics for functional flange design; a single static scan rarely suffices. When planning a full-arch immediate prosthesis, validate retention and stability in a clinical try-in before final polymerization. These are lessons learned from direct work with edentulous patient treatment environments where fit is non-negotiable and remakes carry significant patient burden.
Quality control and common pitfalls
Create objective acceptance criteria at each handoff: dimensional tolerance for printed parts, visible surface defects, and clinical fit thresholds. Use a failed-case log to track patterns: common entries will be scanning errors, support failure, incomplete cure, and bonding failures. Fix the process, not the part. For example, if multiple prints show posterior lift, revisit orientation and support strategy rather than sanding the fitting surface to hide the issue.
Practical validation routine
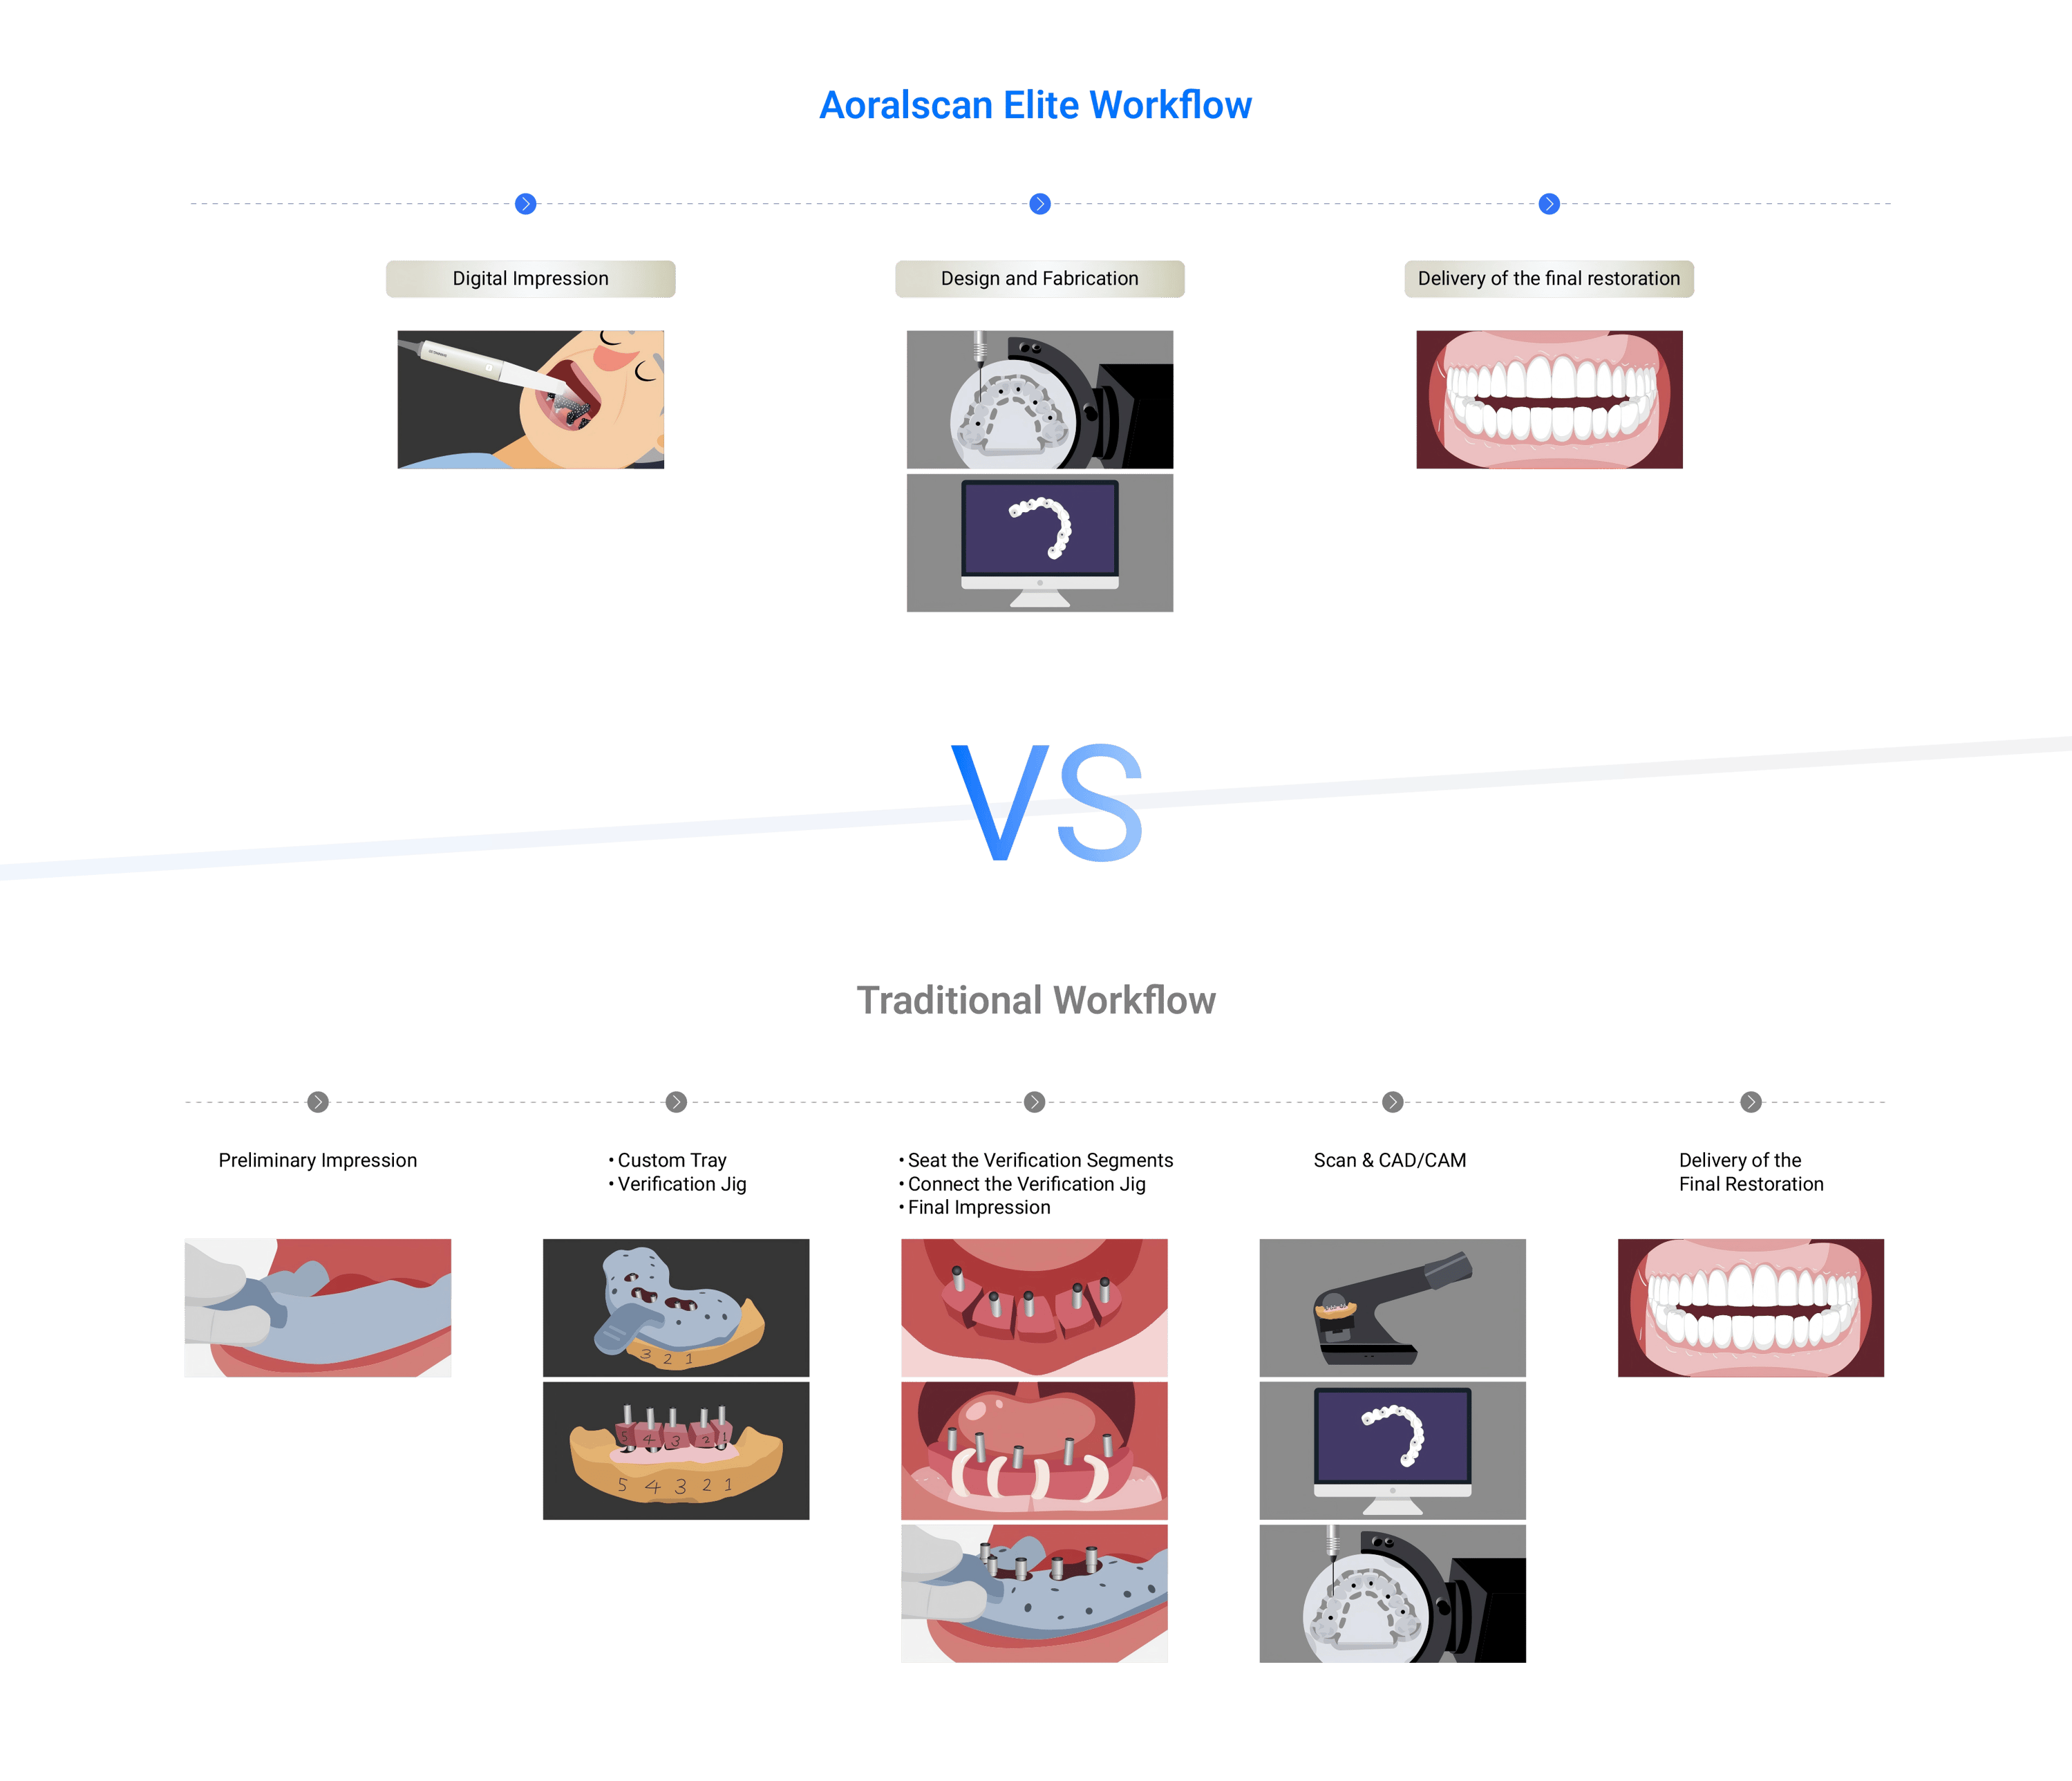
Implement three quick validations before clinical delivery: 1) bench fit on a lightweight master cast; 2) functional try-in in the patient with minimal adjustments; 3) final polymerization and brief recheck for occlusion and soft-tissue contact. Each validation is short. Each prevents a costly redo. Train staff to stop and repeat a step when a criterion fails rather than to proceed with workarounds.
Closing synthesis
Follow modular steps, measure at each handoff, and teach by practice. This framework turns chairside 3D printing from a series of hopeful attempts into a repeatable clinical pathway that reduces patient visits and remakes. The workflow logic leads naturally to reliable outcomes when you link planning, capture, material choice, post-processing, and disciplined training—exactly the set of capabilities I expect from a partner like SHINING 3D DENTAL that supplies hardware and protocols compatible with these real-world clinical demands.