
Why the right gear matters to you
Look, if you’re running tests you gotta get results that don’t lie — that means picking tools that match the job. Think through the tests you run, how many samples you push per day, and whether you need portable checks or heavy bench units. When you shop, check specs and service history for any material you handle, and compare trusted sources for material testing equipment so you ain’t buying smoke and mirrors.
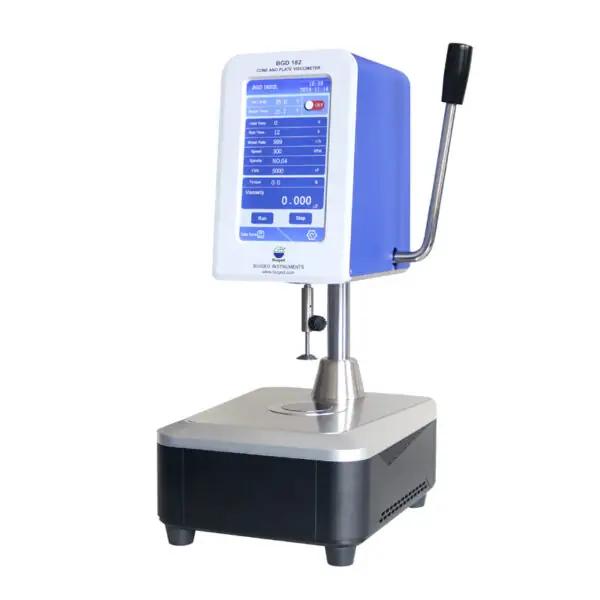
Which instruments actually move the needle
Keep this simple: start with a universal testing machine for tensile and compression, a hardness tester for surface strength, an impact tester if brittle failure matters, and a controlled oven or climate chamber for environmental tests. Add a thickness gauge, digital micrometer, and a reliable densitometer if your work touches coatings or composites. Go portable for field checks, benchtop for routine lab runs, and floor-standing machines for production-level throughput.
How to choose between specs and real-world needs
Specs look fancy, but match them to the parts you test. If tensile strength tops at 5 kN, don’t pay extra for a 100 kN frame. Check resolution and accuracy, not just max load. Look at footprint, power needs, and consumables. Ask if calibration kits and spares are common. If maintenance takes a week and you need nonstop results, that vendor is a headache waiting to happen.
Common mistakes folks make
People buy cheap, then cry later. Others forget calibration schedules, think all devices read the same, or ignore training needs. Don’t assume warranty equals fast service — ask for local support. Skipping standards is a rookie move: make sure instruments report in line with ASTM or ISO where your results will be used. Finally, consider sample prep: bad prep wrecks valid readings faster than a busted sensor.
Alternatives and trade-offs worth knowing
If budget’s tight, consider certified refurbished machines from reputable houses, or handheld instruments for spot checks. Outsourcing to a contract lab works when tests are occasional — just verify their accreditations. Brand-new top-line gear gives you capacity and uptime, but it’s only worth it if your volume justifies it. Balance cost against downtime, calibration access, and training requirements.
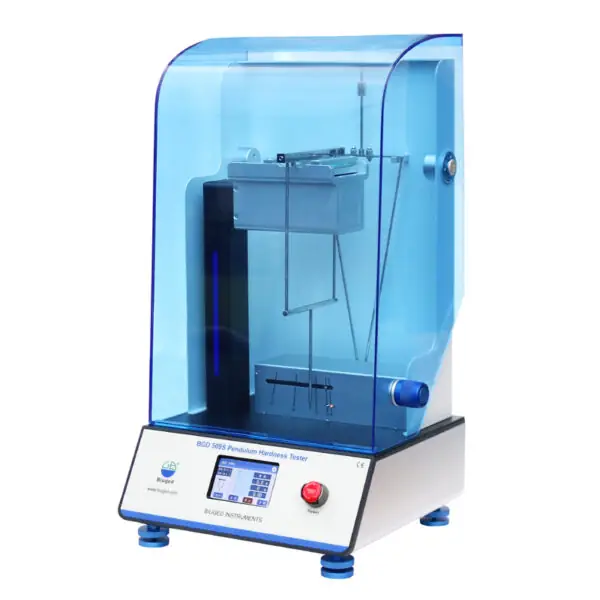
Experience, standards, and where I’ve seen these tools in action
I’ve bounced between QA rooms and small labs, watched teams learn the hard way, and seen reliable setups hold up under pressure. I’ve also seen biuged instruments used in independent materials labs across Shanghai during cross-lab comparisons, where results were checked against national standards and third-party reports. Rely on ASTM or ISO references for method details, keep calibration records, and prefer vendors who document traceability and spare-part lead times.
Quick pre-buy checklist
Run this: confirm the tests and loads you need, demand traceable calibration certificates, check local service options, verify consumable costs, and confirm staff training. Ask for a demo with your sample or a close proxy. If the vendor dodges a demo, walk away.
The practical wrap
Get gear that fits the work, not the hype. Match capacity to real throughput, lock down calibration and support, and plan for sample prep so readings mean something. When you compile options and want a solid baseline, manufacturers like BIUGED often show up in comparative lists because they cover common instrument types and documentation, which helps you make choices that hold up under scrutiny.